
 Anyone who has experience making handmade bread will agree that kneading the dough is the most tiring and time-consuming task in the whole process. And despite all your effort, the result is not always as good as you hoped. That’s where a bread machine comes in to make your life easier. A bread maker will knead the dough for you and bake it to perfection, giving you fresh and delicious bread with minimal effort. This article will review the Kent Bread Maker, one of the most popular models on the Indian market today.

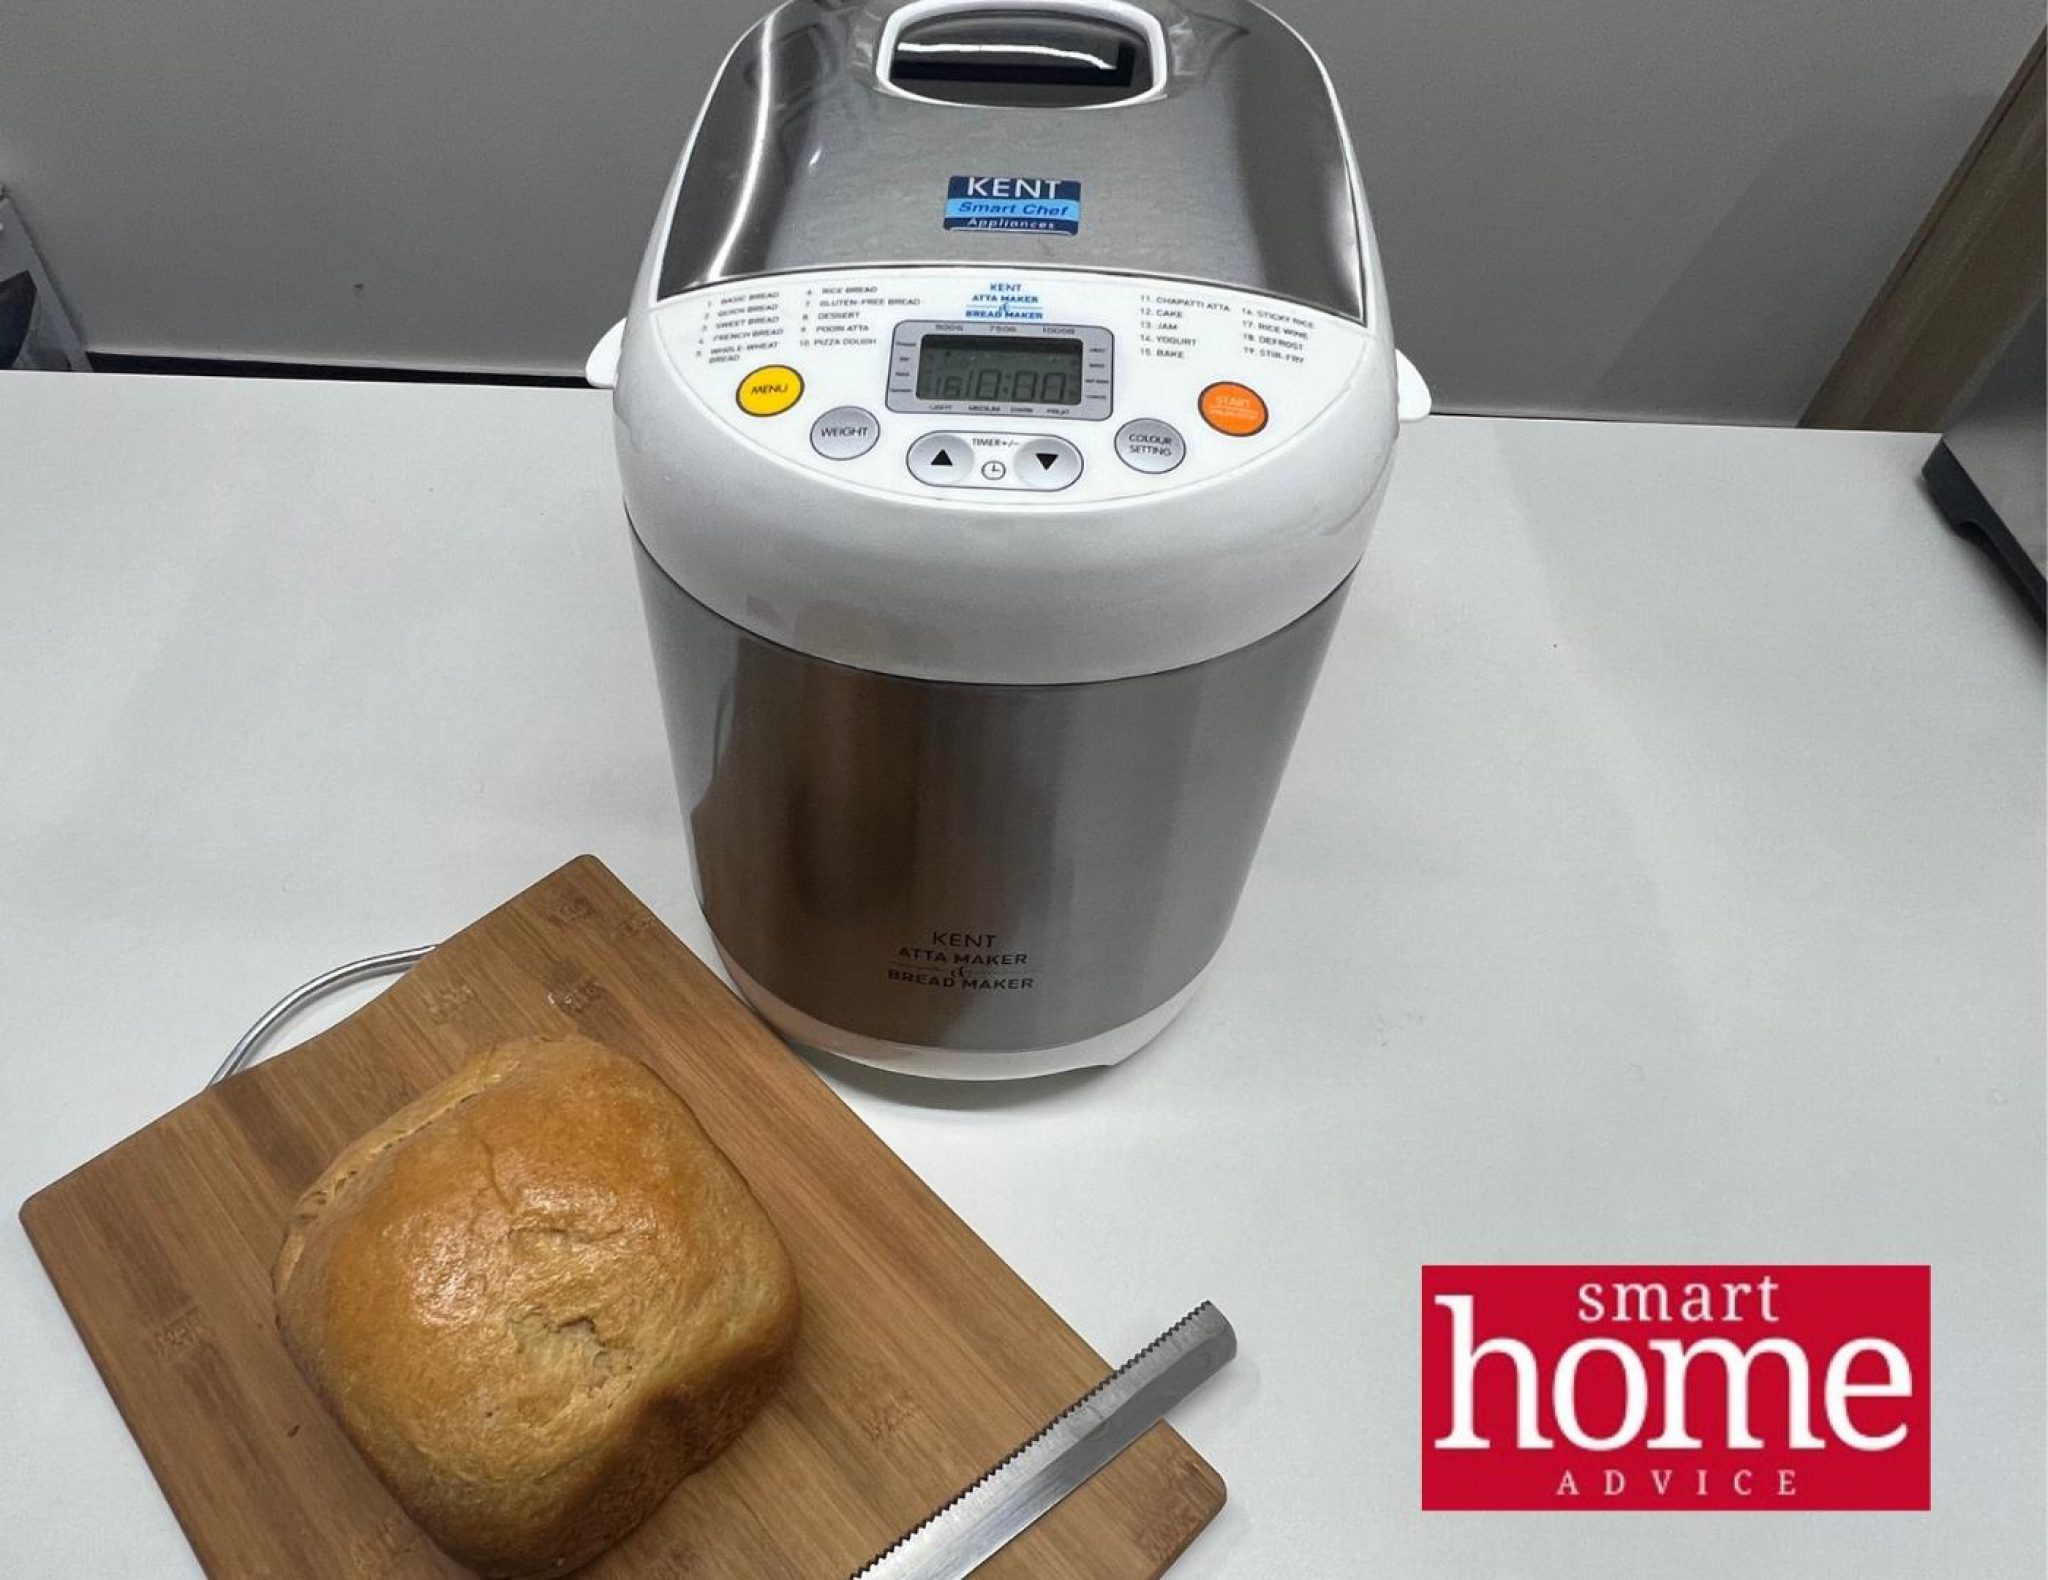
The Kent Bread Maker is a fully automatic bread-making machine with 19 pre-loaded features and functions. It is useful in kneading dough and making different types of bread and can also be used for other recipes like cakes, pizzas, jams, etc.
Specifications of the Kent Bread Maker
Weight: 5200 Grams
Dimensions (cm): 36 x 24.5 x 30
Material: Plastic and Metal
Electricity Consumption: 230 Volt/ 550 Watts
Programs: 19
Loaf Size Options: 3
Delay Timer
Crust Color Options: 3
Click Here for Latest Offer
Aesthetics & Appearance
The Kent bread maker is a sleek and modern machine that looks great in any kitchen. It is made mainly of metal, and the lid and bottom are high-quality scratch-resistant plastic.
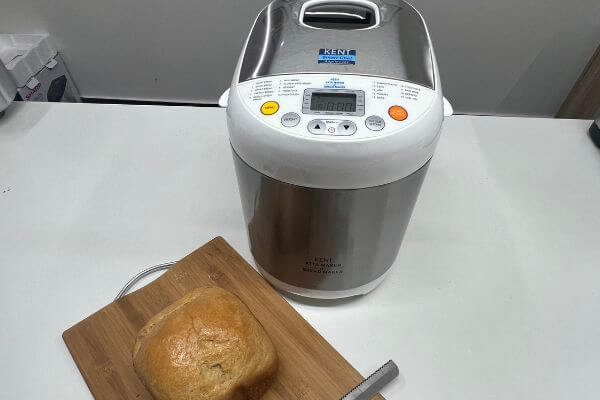
This model comes in a single color variant – silver and white, which looks elegant and will match any kitchen interiors. Though the machine is exceptionally lightweight at just 5.2 kg (the Sharp bread maker is almost double in weight), it is still quite sturdy and well-built. The metal and the plastic body is fingerprint/scratch-resistant and easy to clean.
The control panel is user-friendly and self-explanatory, with big touch buttons and an LCD. All 19 preload functions are linearly displayed above the control panel. In addition, the large viewing window on the top lets you keep an eye on the bread as it bakes without having to open the lid, and there are sleek vertical vents to allow excess heat to escape during the baking process.
The wire length is sufficient at around 80cms. The legs are attached with anti-slip rubber pads to keep the machine from moving around on your countertop during the kneading process.
Overall, I am quite impressed with the looks and build quality of this bread maker and would recommend it if you’re looking for a good-looking machine that performs well.
Installation & Setup
The setup process is straightforward and can be done by anyone. The machine is generally a plug-and-play device; however, a minor assembly is required. The user manual provides clear instructions on how to do this, taking less than 10 minutes.
You will need to place the baking pan inside the bread maker and add the kneading blade. Make sure the kneading blade is correctly attached before adding any ingredients.
Once the baking pan and kneading blade are in place, you can start adding the ingredients for your bread dough. The order in which you add the ingredients is important and should be followed as mentioned in the user manual.
Once all the ingredients have been added, you can select the desired program by pressing the corresponding button on the control panel.
Performance & Results
I have been using this bread maker for the past few months and am very impressed with its performance.
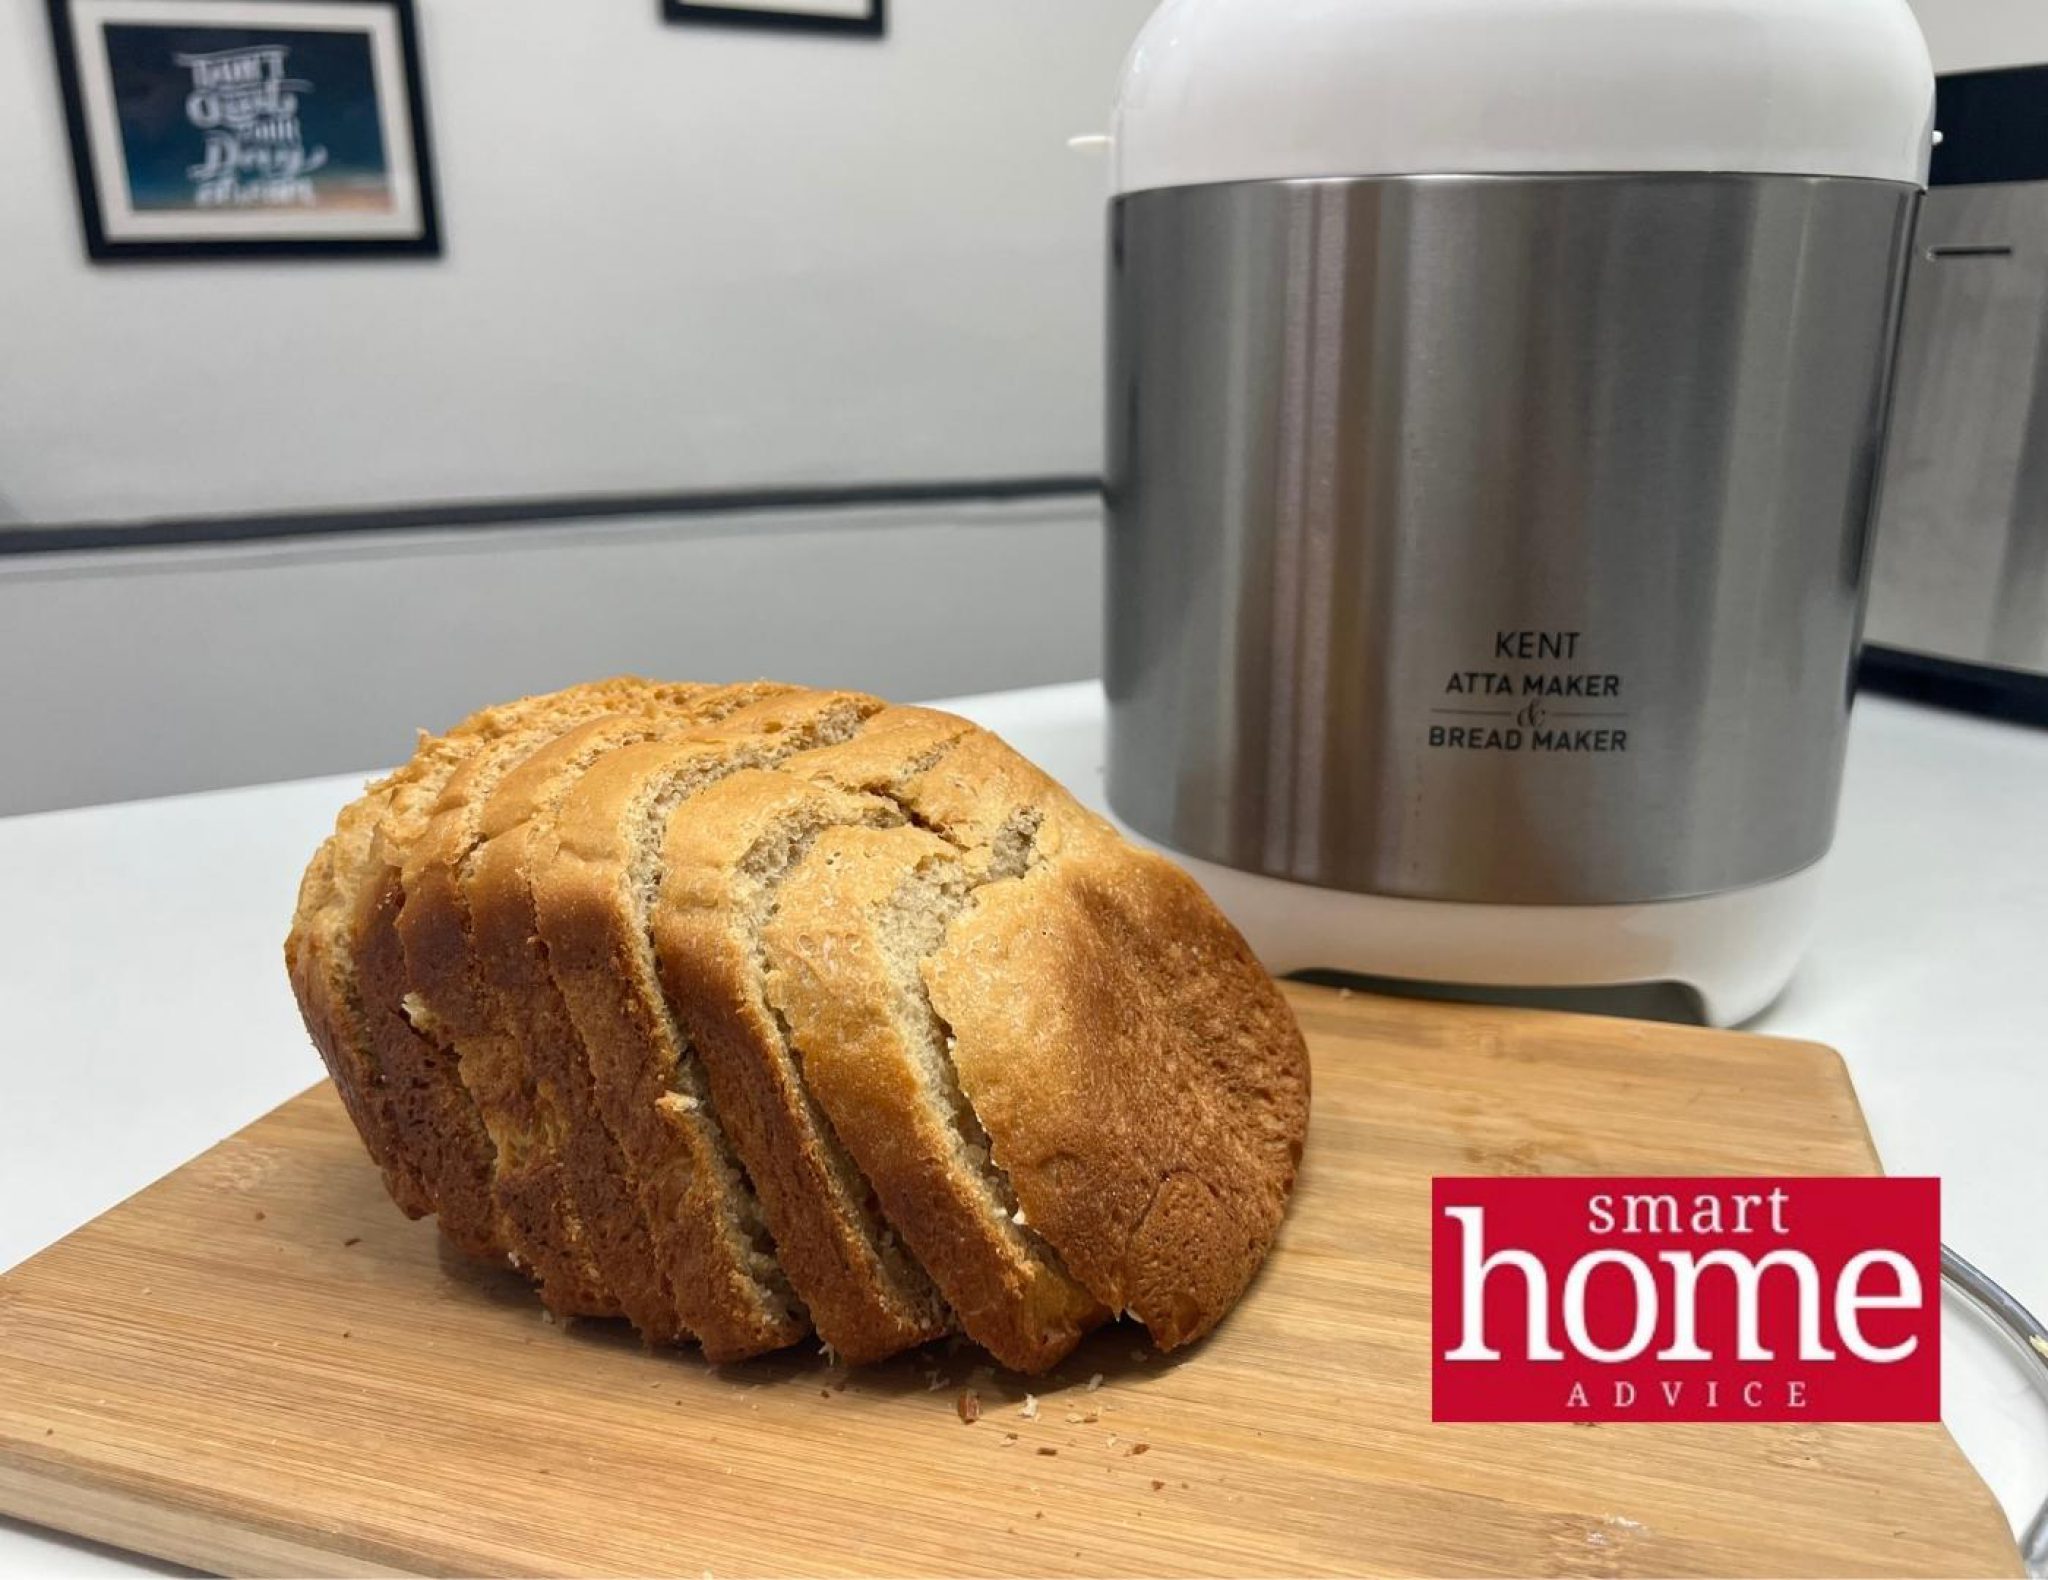
It is very easy to use, and the results are always consistent. I have tried making different types of bread, cakes, and pizzas, all of which have turned out great.
The delay timer is a handy feature as it allows you to set the bread maker to start later so that you can have fresh bread ready when you wake up or come back from work.
The crust color options (light, medium, dark) are a great way to customize the crust of your bread according to your preference. I generally keep it on the medium setting as I like my bread to have a slightly crispy crust.
The 19 preload functions cover all the basic bread recipes and more, so you will never be out of options. In addition, the user manual provides detailed instructions on how to use each function and what ingredients to use.
The loaf size options (500g, 750g, 1kg) come in handy when you want to make a small or large loaf of bread. I generally use the 500g option as it is perfect for my family of three.
Click Here for Latest Offer
19 functions Explained:
Basic Bread: This function is for making the most basic bread with just refined flour (or maida), water, salt/sugar, oil, and instant yeast. It takes approximately 3 hours from start to finish.
Quick Bread: As the name suggests, this function is for making bread quickly. The same basic bread above will take approximately 2 hours to use this function. You may use this function to make fruit bread that requires less kneading, like banana bread.
Sweet Bread: This function makes sweeter bread like cinnamon raisin bread, pumpkin spice bread, etc. The ingredients and process are mostly the same as the basic bread, but with the addition of sugar and other sweeteners. You can even bake a delicious, whole wheat bread with this function. Depending on the bread loaf size, this process might take between three hours and forty minutes to 50 minutes.
French Bread: This function makes a more dense and chewy bread with a slightly crisp crust. It is made with more water to flour than usual bread and has a longer rising time than the basic bread. This process might take upto 4 hours maximum.
Whole Wheat Bread: One of the most used functions in my home. While it says whole wheat bread, you will still need to add more than 50% of refined or all-purpose flour. The process is similar to the basic bread with a longer rising time. This function might take 4 hours for the bread to be ready.
Rice Bread: As the name suggests, this function is for making bread with cooked rice. The ingredients for this sort of bread are identical to those for the basic bread, except for cooked rice and a lesser water-to-flour proportion. The rice bread requires considerably less time, about 2 hours and 40 minutes for a 1000 gm loaf.
Gluten-Free Bread: This function is for making bread without gluten. The ingredients needed include gluten-free flour, corn powder, Instant yeast, oil-water, salt, and sugar. This option is great for those with celiac disease or gluten intolerance or who want to try a gluten-free diet. The bread turns out to be very soft and moist. This process takes approximately 3 hours max for a 1000gm loaf. Some gluten-free flour options are- rice flour, tapioca flour, sorghum flour, chickpea flour, etc.
Dessert: Using egg, milk, cooked rice, sugar, and raisin is for making a dessert like pudding. The process takes approximately 1 hour and 40 minutes, and there is a single setting of making 1000gm of dessert only.
Poori Atta Kneading: This function is for kneading the atta or whole wheat flour for making pooris. The dough needed for poori is very stiff, and this function kneads the atta perfectly for making pooris. The process takes 15 minutes only for kneading 500gm poori atta.
Pizza Dough: This function is for kneading the basic pizza dough. Pizza dough requires a lot of kneading, and this function does it perfectly in 1:30 minutes for 1000gm and 750 gm quantities. Once the dough is ready, you can roll it out and bake the pizza base in a preheated oven. You can try the cheese burst and other flavors once the dough is ready.
Chapati Aata: the second most used function in my home, this function is for kneading the whole wheat flour or atta for making chapatis. The process takes about 8 minutes for kneading 500 of atta. Once you get a handle on the Kent bread maker, you can experiment with different quantities and flavors (for parathas).
Cake: You can bake a cake with or without eggs in the Kent bread and atta maker. Though they provide a single recipe with an egg in the manual, you can easily bake an eggless cake by omitting the egg from the recipe. The process takes 2 hours and 20 minutes to bake a 500 gm cake from start to finish. The usefulness of the function is debatable, and I personally find it less useful. You can easily make a cake in an hour by hand using the OTG.
Jam: This is a great function and one that I use often. With this function, you can make strawberries, mango, and mixed fruit jam. With three ingredients: fruit pulp, sugar, and starch, you can make your favorite jam within 1 hour and 20 minutes. So, let’s agree to call this machine a bread and jam maker!
Yogurt: You will need lactic acid bacteria culture or yogurt starter to make yogurt in the bread maker. It takes upto eight long hours to make 1 liter of yogurt. Once the cycle is complete, transfer the yogurt to a container and store it in the refrigerator. Do not forget to save some yogurt from this batch to use as a starter for your next batch. You can even add flavors to the yogurt-like mango, strawberry, etc.
Bake: You can use this feature to bake a cake or anything that can bake well in the bread pan. You get to select the required temperature and time. I baked a chocolate cake in the bread maker, and it came out just fine except for the shape – you have to stick to the squarish bread pan shape.
Sticky Rice: This function is for cooking glutinous or sticky rice. The process takes about 1:20 minutes for 250 gm, and you will need to add more water than the rice quantity. Once the process is complete, let the rice sit in the bread maker for ten more minutes before opening the lid. You will also have to pre-soak the rice for at least 30 minutes.
Rice Wine: One of the most unexpected features of the Kent bread maker is that it can be used for making rice wine. All you need is sticky or glutinous rice, water, and Distillers yeast. The process takes about 36 hours from start to finish, and you will get homemade rice wine.
Defrost: This function is for thawing frozen bread or anything you want to defrost in the bread maker. The process takes about 30-40 minutes, depending on the quantity and temperature of the frozen product.
Stir Fry: Yes, you read it right! Using the stir fry function, you can stir fry your peanuts for 30 minutes. The process is simple, add your ingredients to the bread maker and let it do its job.
Care & Cleaning
It is essential to clean the bread maker after each use to prevent the build-up of mold and bacteria. The Kent bread maker is very easy to clean; however, there are a few things you need to keep in mind when cleaning it.
Most parts are not dishwasher friendly, so you will have to clean them by hand. The bread pan and kneading paddle can be washed in the dishwasher, but the other parts must be washed by hand.
Use a soft cloth or sponge to clean the machine; never use abrasive cleaners or scrubbers.
Here are a few tips to help you clean the bread maker:
- Unplug the bread maker from the power outlet before starting the cleaning process.
- Use a damp cloth to wipe down the exterior of the bread maker.
- The bread pan and kneading paddle can be washed in the dishwasher, but the cup and spoons must be washed by hand.
- Remove the bread pan from the bread maker (rotate anti-clockwise to remove it) and wash it with warm soapy water. Rinse it and leave it to dry.
- Wipe down the interior of the bread maker with a damp cloth and turn it upside down to remove crumbs.
- Use a brush or toothpick to clean the crevices and corners of the bread maker.
- Wipe the bread maker with a dry cloth and then plug it back into the power outlet. Make sure it is completely dry before using it again.
Price
The Kent bread maker costs about Rs 10,000 at retail, but you may now get it for approximately Rs 7,500 on the original Kent website and Amazon. I bought it at a lower price last year during the Diwali sale on Amazon.
The Kent bread maker is more reasonably priced than other bread makers on the market. In addition, I appreciate that they have used metal and plastic reasonably on the lid, as opposed to other bread makers with plastic lids that are not scratch resistant.
Customer Care & Warranty
The Kent bread maker has a one-year warranty, which is pretty good. So far, I have not used any warranty or called customer care, but if I do, I will make sure to update this section.
The customer care number for Kent is 92-789-12345, and they have a very helpful and prompt customer care service.
The Kent Bread Maker Manual
The user manual with the bread maker is detailed and easy to understand. It has clear instructions on how to use the bread maker and troubleshoot any problems that you may have.
It not only contains the instructions for care, but it also includes recipes for the 19 preloaded functions explained above.
Anybody who wants to take a sneak peek at what’s inside the manual, download it from here: https://www.kent.co.in/pdf/atta-bread-manual.pdf
Comparing the Kent with Lifelong Bread Maker
- Lifelong has the exact same design and functions as the Kent Bread maker.
- The Lifelong bread maker is lower in cost; however, its built quality is not as good.
- The Lifelong Bread makers lid is all plastic, whereas the Kent is more superior quality with a mix of both plastic and metal.
- Kent bread maker has a scratch and stain-resistant body, whereas the Lifelong bread maker is a fingerprint magnet.
- The bread quality from Kent and Lifelong is almost similar, except the baking function in Kent is a little superior- you get the right color bread loaf.
- The lifelong bread maker is a little less noisy when kneading, while Kent is a little louder.
- The manual with the lifelong bread maker is a precise version of what you get with the Kent bread maker.
- Lifelong is lower cost, around Rs.200/- and if you’re looking for a lower-priced option, go for it. If not, then Kent is the better option because of its build quality and slightly superior functions.
Overall, I feel that the Kent bread maker is a better choice.
